Master Film Lighting: A Complete Guide

Master Film Lighting: A Complete Guide
Master Film Lighting: A Complete Guide
So, you want to make your films look amazing? Lighting is arguably the most crucial aspect of filmmaking after a good story. It's not just about illuminating the scene; it's about crafting mood, guiding the audience's eye, and enhancing the visual narrative. Whether you're a seasoned pro or just starting out, understanding the fundamentals of film lighting is essential. Let's dive into the world of shadows, highlights and everything in between to understand how marketing companies offering video production services have helped businesses grow around the world.
This guide will cover the foundational elements of film lighting, explore common lighting setups, and offer some practical tips to help you improve your lighting game. We'll break down complex concepts into easy-to-understand terms, so you can start implementing these techniques in your own projects immediately. Get ready to transform your films from amateur to professional with the power of light!
Understanding the Building Blocks of Film Lighting

The Three-Point Lighting Setup
The three-point lighting setup is the bread and butter of filmmaking. It provides a balanced and flattering illumination for your subject, making it a great starting point for most scenes. It comprises of three key lights: the Key Light, the Fill Light, and the Backlight.
The Key Light is your primary light source, the one that dictates the overall look and feel of the scene. Place it slightly to one side of your subject and experiment with the angle and distance to achieve the desired effect. The Fill Light, typically placed on the opposite side of the Key Light, softens the shadows created by the Key Light, revealing details that would otherwise be lost. Finally, the Backlight, also known as the hair light or rim light, is positioned behind the subject, separating them from the background and adding depth. Remember, adjusting the intensity and position of each light will drastically alter the mood and aesthetic.
Light Quality: Hard vs. Soft
The quality of light plays a vital role in shaping the atmosphere of your film. Hard light, characterized by its sharp shadows and defined edges, is often used to create a sense of drama, intensity, or realism. Think of direct sunlight on a clear day – that's hard light in action. Soft light, on the other hand, is diffused and gentle, producing subtle shadows and a more flattering look. Overcast days and light sources diffused through softboxes are examples of soft light.
Knowing when to use hard or soft light is crucial. Hard light can be used to emphasize textures, create suspense, or highlight flaws, while soft light can soften imperfections, create a more romantic mood, or provide a more natural and pleasing look. Experiment with different modifiers like diffusers, reflectors, and bounce boards to control the quality of light and achieve the desired effect.
Common Lighting Setups & Techniques
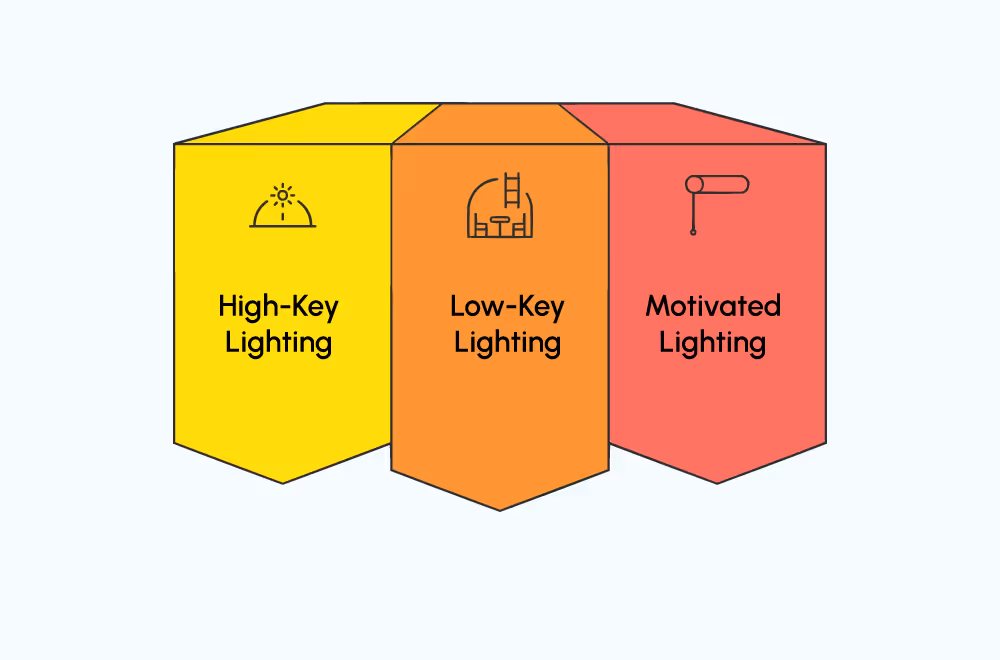
High-Key Lighting
High-key lighting is characterized by bright, even illumination and minimal shadows. It creates a cheerful, optimistic, and clean look, often used in comedies, commercials, and beauty shots. The key is to use a high fill ratio, meaning the fill light is almost as bright as the key light.
Achieving high-key lighting typically involves multiple soft light sources and reflectors to bounce light around the scene. Pay attention to the background, ensuring it's well-lit to maintain the bright and airy feel. High-key lighting can be tricky to pull off, as it can easily look flat and uninteresting if not done carefully. Experiment with subtle variations in light intensity to create depth and dimension.
You’ll see this level of controlled brightness commonly applied in top photography studios in Bangalore for clean product and portrait shots.
Low-Key Lighting
In contrast to high-key lighting, low-key lighting relies on darkness and shadows to create a sense of mystery, suspense, or drama. It's often used in thrillers, horror films, and film noir. The key is to use a low fill ratio, meaning the fill light is significantly dimmer than the key light, or even absent altogether.
Low-key lighting can be achieved by using a single, focused light source and controlling the shadows carefully. The absence of light becomes just as important as the presence of light. Consider using flags and gobos to shape the light and create distinct areas of darkness. Remember, the goal is to create contrast and mood through the strategic use of shadows.
Motivated Lighting
Motivated lighting is when your lighting appears to come from a natural source within the scene, such as a window, a lamp, or a fireplace. This creates a more realistic and believable look, grounding the audience in the world of the film. The "source" doesn't necessarily have to be visible, but the lighting should suggest its presence. This approach is followed by top explainer video maker like Filmbaker, whose visuals balance clarity and subtle realism to ensure every message connects effortlessly with the viewer.
For example, if your scene takes place in a room with a window, position your key light to mimic the angle and intensity of sunlight coming through the window. You can then use a fill light to soften the shadows, but ensure it doesn't contradict the direction or color temperature of the "sunlight." Motivated lighting adds a layer of authenticity to your films and can significantly enhance the viewer's immersion.
Practical Tips for Better Film Lighting
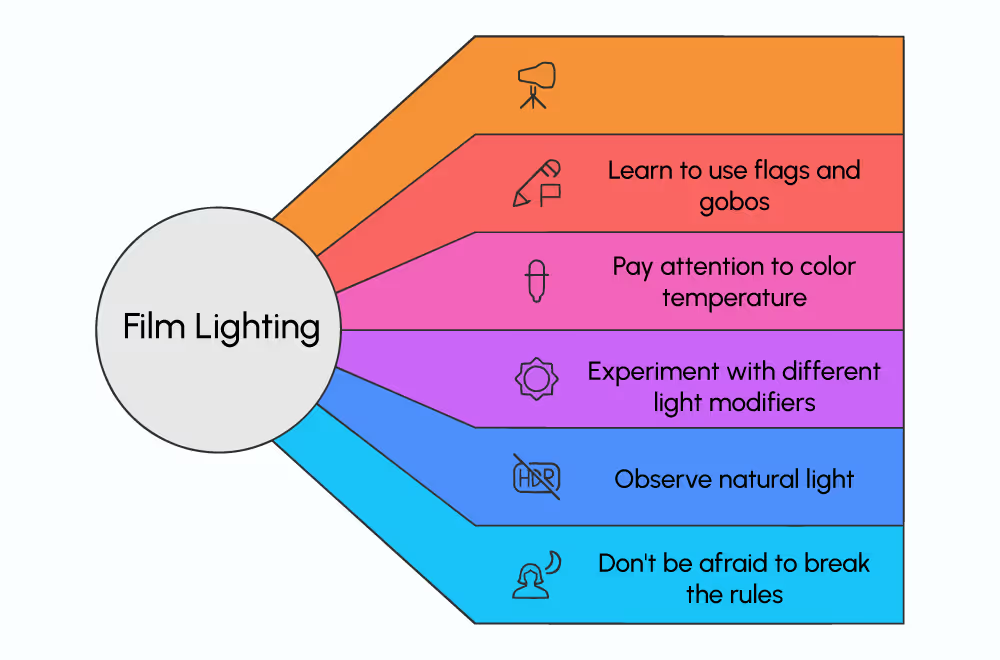
Now that we've covered the fundamentals, let's look at some practical tips you can use to improve your film lighting immediately. Remember, practice is key. The more you experiment with different lighting techniques, the better you'll become at creating the look you desire.
Remember to always prioritize safety when working with electrical equipment. Use proper grounding and avoid overloading circuits. If you're unsure about anything, consult with a professional electrician or experienced filmmaker.
Conclusion
Mastering film lighting takes time, patience, and practice. But with a solid understanding of the fundamentals and a willingness to experiment, you can transform your films from amateur to professional. Remember to pay attention to the quality of light, the color temperature, and the overall mood you're trying to create. Don't be afraid to try new things and break the rules. The most important thing is to have fun and let your creativity shine. For further film making related queries, don't hesitate to contact FilmBaker.


