Master Cinema Looks: 3 Essential Pro Lighting Secrets
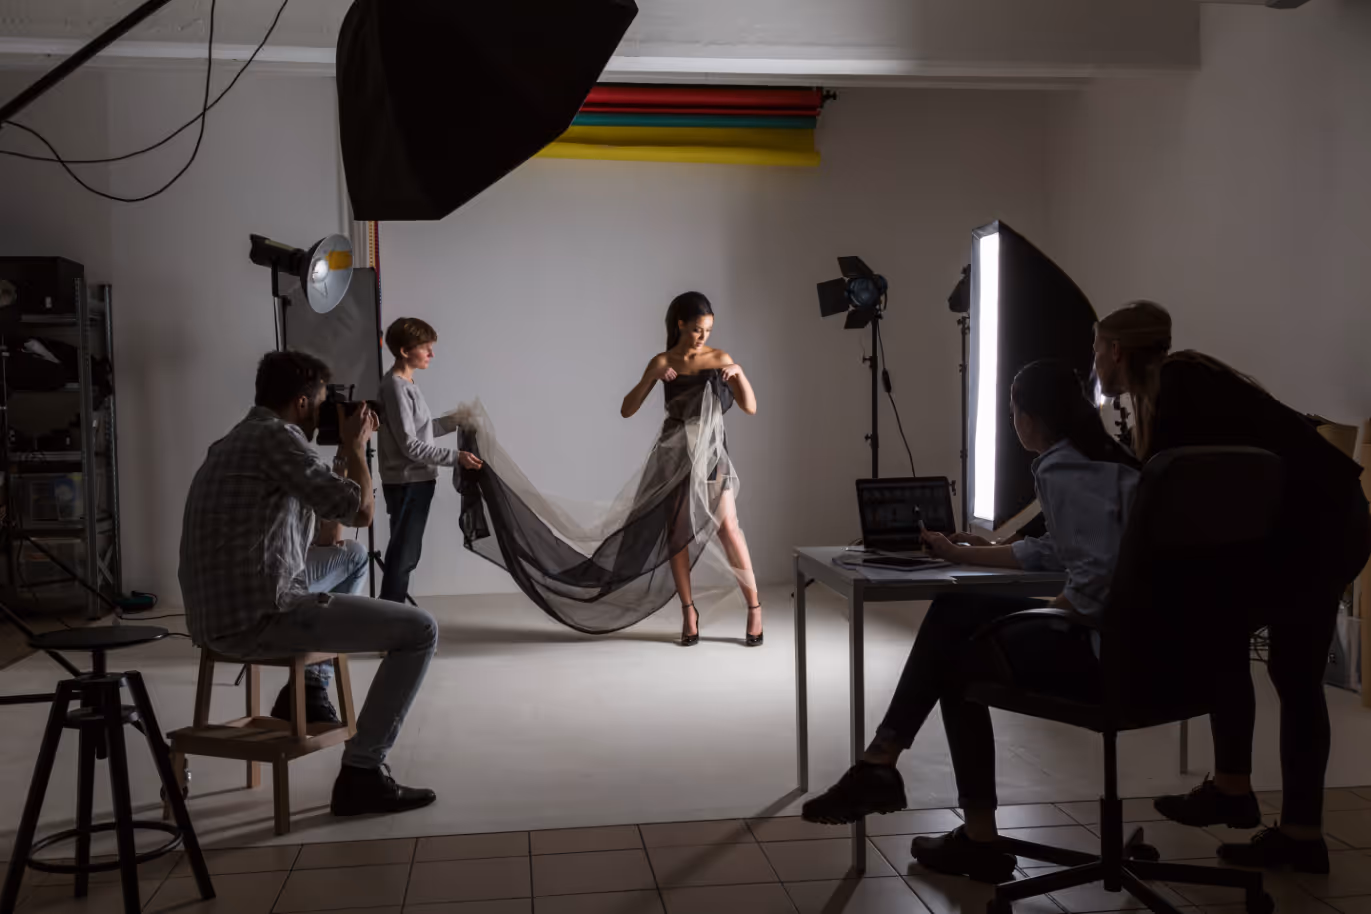
Ever watched a film or a high-end commercial and wondered, "How do they get that look?" It’s more than just a great camera or a talented actor. The magic, more often than not, lies in the lighting. Lighting isn't just about making things visible; it's about shaping mood, directing attention, and telling a story. It’s a language all its own, spoken by every great cinematographer.
For aspiring filmmakers and content creators, understanding professional lighting techniques can feel daunting. There are countless theories, endless gear, and a seemingly infinite number of ways to set up a shot. But at its core, cinematic lighting boils down to a few fundamental principles that pros rely on every single day. Today, we're going to peel back the curtain and reveal three essential secrets that will elevate your visuals from amateur to cinematic.
Understanding Light Quality: Hard vs. Soft
The first and perhaps most fundamental concept in cinematic lighting is the distinction between hard and soft light. Hard light comes from a small, concentrated source and creates sharp, well-defined shadows, adding drama, contrast, and a sense of grit. Think of a bare bulb or direct sunlight on a clear day. This quality of light can evoke tension, highlight textures, and give a scene a stark, graphic feel, often seen in thrillers or film noir.
In contrast, soft light emanates from a large, diffused source and produces gentle, subtle shadows, or no shadows at all. It’s flattering, smooths out imperfections, and creates a sense of beauty, calm, or naturalism. Imagine the light from a large window on an overcast day, or through a massive softbox. This is the go-to for interviews, beauty shots, and scenes where a more gentle, inviting atmosphere is desired. Knowing when and how to deploy each is critical to achieving your desired mood.
Practical Tip: To achieve soft light, increase the size of your light source relative to your subject. This can be done by moving the light closer to the subject, using large diffusion frames (like silks or scrims), or bouncing your light off a large white surface like a wall or a large reflector. For hard light, minimize the light source's size by using grids, snoots, or simply a bare, focused light. Experiment with both to see how they dramatically alter the emotional impact of your shot.
The Power of Motivated Lighting & Practicals
One of the hallmarks of truly professional lighting is that it never feels "lit." Instead, it appears natural, as if the light is simply coming from a believable source within the scene itself. This is the essence of "motivated lighting," where every light source in your shot, whether artificial or natural, appears to be justified by an existing element in the environment. This includes "practicals" – lamps, windows, streetlights, fireplaces, or even the glow of a computer screen – that are visible in the frame and appear to be producing light.
Motivated lighting goes beyond merely illuminating a scene; it grounds it in reality and enhances immersion. If your character is reading by a desk lamp, the light hitting their face should convincingly appear to originate from that lamp, even if you’re supplementing it with off-camera professional lights. These supplemental lights are then shaped and controlled to mimic the fall-off, color, and intensity of the practical source, creating a seamless and believable look.
Practical Tip: Start by identifying all potential practical light sources in your scene. Use these as your starting points for your lighting design. Even if they don’t provide enough illumination on their own, they give you a natural direction and color temperature to work with. For instance, if a window is your primary light source, use a large soft light outside the frame, aiming it to mimic the natural direction and quality of light coming through the window, then add a subtle fill to soften shadows where needed.
Shaping Light: Negative Fill and Contrast Control
Lighting isn't just about adding light; it's equally about controlling it, or even subtracting it. This brings us to the crucial concept of "negative fill" and contrast control. While positive fill adds light to shadows to soften them, negative fill does the opposite: it uses dark surfaces to absorb light and deepen shadows, thereby increasing contrast and sculpting the subject. This technique is indispensable for creating dramatic, moody, or edgy looks.
Imagine lighting a person's face. If you have a key light on one side, and the other side is simply in shadow but still reflecting ambient light, the contrast might be too low. By placing a large black flag or a piece of black fabric on the shadowed side, you actively absorb ambient light, making the shadows darker and more defined. This creates a more dramatic, three-dimensional look, enhancing contours and separating the subject from the background with greater visual impact.
Practical Tip: Don't just rely on your lights; think about your flags, cutters, and black fabrics (often called "negatives" or "blacks"). Use them to block unwanted light, create sharp shadow lines, or absorb spill to deepen shadows. A simple black bounce board or even a large black poster board can be used to absorb light on the "shadow" side of your subject, intensifying the contrast and adding a professional, sculpted feel to your visuals. Experiment with how close or far away you place your negative fill to control the intensity of the shadow.
Conclusion
Mastering cinematic lighting isn't an overnight process, but by focusing on these three core principles – understanding light quality (hard vs. soft), leveraging motivated lighting and practicals, and actively shaping light with negative fill and contrast control – you'll be well on your way to achieving truly professional results. These aren't just theoretical concepts; they are actionable techniques used daily by the best in the business.
Practice is key. Grab your gear, set up a scene, and experiment with these secrets. Observe how a slight change in light quality, the integration of a practical lamp, or the addition of a black flag can completely transform the mood and visual impact of your shot. The world of lighting is vast and exciting, and with a solid grasp of these essentials, you're ready to start telling your stories with the visual power they deserve. Ready to take your productions to the next level or need expert guidance on your next project? Visit FilmBaker to connect with professionals who can help bring your vision to life.


